

One type of quinoa that has a bad reputation is the one that is cooked in plain water, served warm, and tastes almost nothing at all. The majority of people who say they don’t like quinoa have most likely eaten that variety. It may be an unfair conclusion, but it’s a reasonable one. Because it’s quite different to cook quinoa in chicken broth in a rice cooker while you go about your evening.
The rice cooker’s capabilities are not given nearly enough recognition. The majority of people purchase one, use it for white rice, and stop there. In contrast to the stovetop method, which necessitates standing over a pot and adjusting flames, grains like quinoa respond well to the slow, even heat produced by a rice cooker. It works in part because of its hands-off nature.
What You’ll Need
- 1 cup dry quinoa (any colour works; tricolour holds up particularly well)
- 1¾ cups chicken broth (one standard 14.5 oz can comes just under that — it works fine)
- Pinch of salt, if using low-sodium broth
- 1 teaspoon olive oil or coconut oil to coat the pot
How to Do It
Rinse the quinoa first. This step is more important than most people realize. Saponins, a naturally occurring coating on quinoa, give the grain a bitter, slightly soapy taste if it is left on. Rub the dry quinoa between your fingers as you run cold water over it for 15 to 20 seconds after placing it in a fine-mesh strainer. Drain all the way.
Wipe the inside of the inner pot with a teaspoon of oil before adding anything to the rice cooker. In addition to preventing sticking, it also seems to make the quinoa cook up a bit fluffier. It’s a simple step that can be done or skipped with ease.
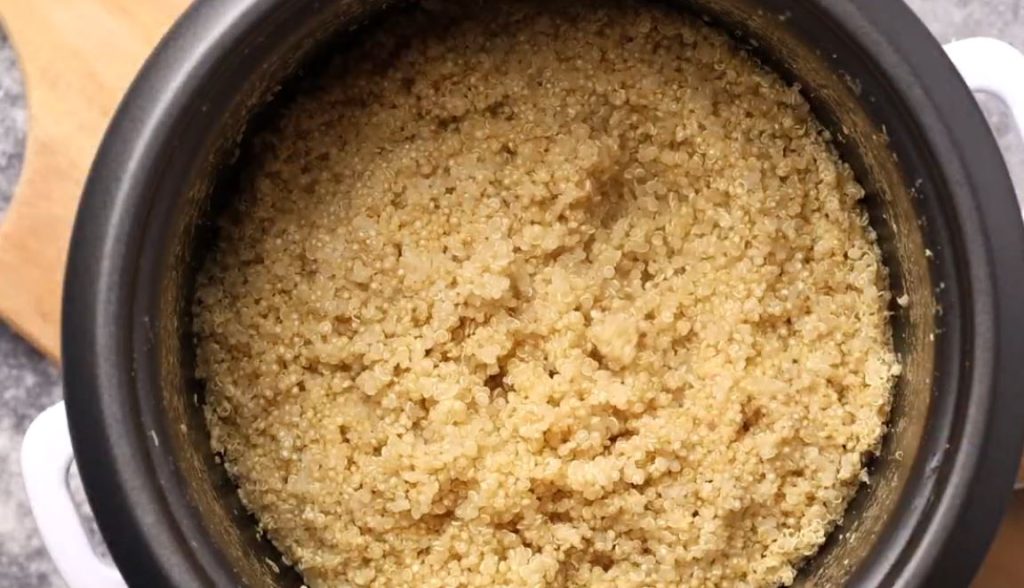
Pour the chicken broth into the pot after adding the rinsed quinoa. The most reliable ratio is 1 cup quinoa to 1½ cups broth, though many home cooks have had no trouble using a standard can of chicken broth at slightly less than 2 cups. Now add a pinch of salt if the broth is low-sodium or unsalted. Shut the lid.
Select the White Rice or standard Cook setting on the rice cooker. Both are effective. Unless your machine is on the cooler side, it is best to avoid using the Brown Rice setting here because it tends to run long and can leave quinoa slightly overdone.
Avoid opening the lid right away when the cooker beeps and goes to the Warm setting. For an additional five to ten minutes, leave it sealed. The last of the liquid is absorbed during this resting phase, which is when the texture truly solidifies. It really does make a difference, but it’s easy to ignore.
Using a fork, gently fluff the quinoa after opening the lid. The tiny white spiral, or germ, should be visible around each grain, which should be distinct and have slightly translucent edges. That indicates that it was done correctly.
There’s more to the chicken broth than just adding salt. It gives the quinoa a depth that water just cannot match; it gives it a warm, slightly savory flavor that transforms the grain from a bland background into something worth consuming on its own. Roasted veggies, a handful of herbs, a squeeze of lemon, or whatever direction the meal is going, work well from there.
It also keeps well. It makes sense to make a larger batch of cooked quinoa at the beginning of the week because it keeps in the refrigerator for up to five days. Scaling up is simple with the rice cooker because the ratio doesn’t change and the machine takes care of the rest with little modification.
There’s something satisfying about a process this straightforward yielding such a consistent outcome. Set it, rest it, fluff it, and wait for the beep. That is essentially the entire recipe.
